Develop skills for Misty robots
Summary
In this tutorial, you are shown how to use rerobots as a platform for developing Misty robot skills.
If you think that something is missing, or if you find errors, please contact us or open a ticket.
Prerequisites
This tutorial assumes that you already have some workspace instance with a Misty robot. For instructions about how to do so, read: Try the Misty API with a proxy.
Change LED color and tilt the head of the robot
Example images in this section are from a fixed_misty2 workspace, in particular the deployment 2c0873b5.
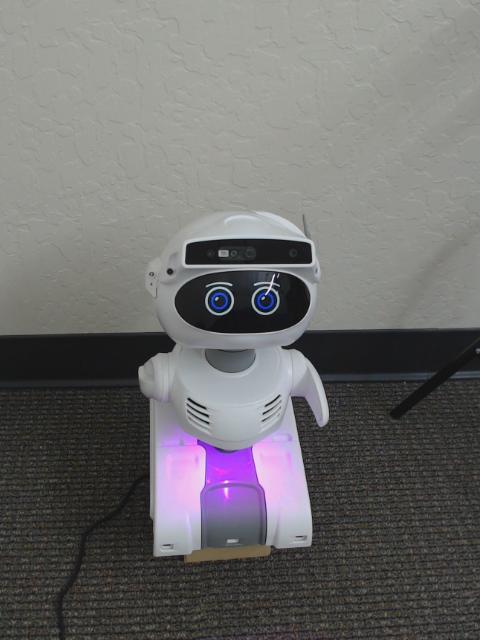
Upon a new instantiation of a fixed_misty2 workspace, the offboard camera view appears like

If you do not know how to open a camera view, read another tutorial.
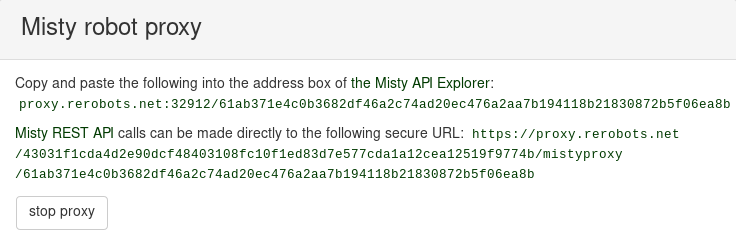
Now, consider the example Python code mistyrest.py. Copy-and-paste the HTTPS URL from the "Misty robot proxy" panel of your instance details page into line 24 of mistyrest.py. The panel with the URL will appear similar to the following:

This example demonstrates how to use the Misty REST API through the rerobots proxy. If you had the robot on your local network, then MPURL can instead be the IP address of the robot.
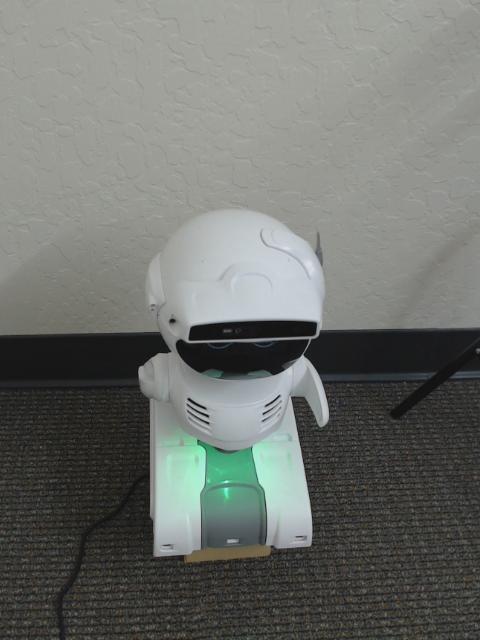
Now, with the proxy URL saved to MPURL, try to execute mistyrest.py on your own computer. At some time during operation, the head should appear tilted as it is in the following image:

Each basic action of the example Python code is little more than HTTP GET or POST. Consider the command to change the LED color (lines 29 - 33):
# Change the color of the chest LED to green
# https://docs.mistyrobotics.com/misty-ii/web-api/api-reference/#changeled
res = requests.post(MPURL + '/api/led', json={
    'red': 0,
    'green': 255,
    'blue': 0,
})
It follows the official Misty reference documentation. This call is followed by
assert res.ok, 'response from POST /api/led: {} {}'.format(res.status_code, res.reason)
to verify that the HTTP response indicates success. If it is not, then some error message is printed.